How to Upload Images in Exact Target

With FormAssembly's Salesforce Marketing Cloud Connector yous tin hands create subscribers, assign subscribers to lists, and transport information to your custom data extensions.
Requirements
You must have a Premier, Enterprise, or Compliance Cloud programme.
Connector Timeline
To begin using the connector, select the form y'all would like to use, get to the connectors page and select the Salesforce Marketing Cloud connector for the Class Submitted or After Course Submitted section of the timeline:
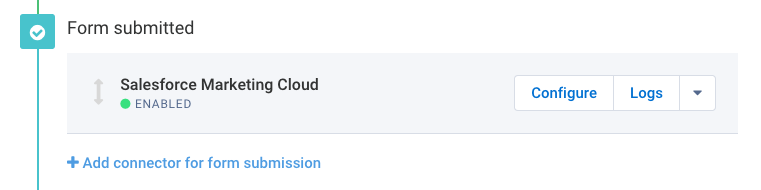
Next, click on configure to brainstorm configuring the connector. You'll also desire to make sure the connector is ready to enabled one time you enter the configuration screen.
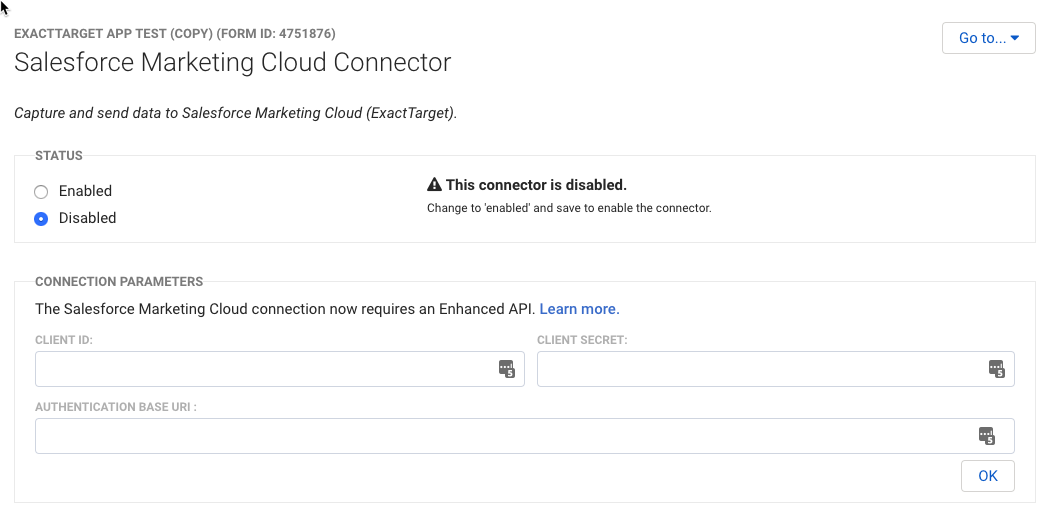
Manually Connecting to Salesforce Marketing Cloud
In order to manually connect to Salesforce Marketing Deject yous will need a "Client ID", "Client Secret", and "Authentication Base of operations URI." To learn these credentials, you lot will need to login to the Salesforce Marketing Deject.
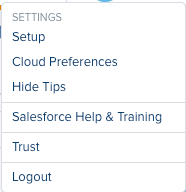
1. Once you lot have logged in to the Dashboard, in the upper right drop down arrow next to the logged in user, navigate to Settings -> Setup
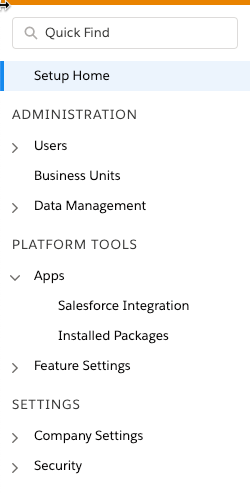
ii. On the left menu nether Apps, click Installed Packages then click the New button on the upper right.
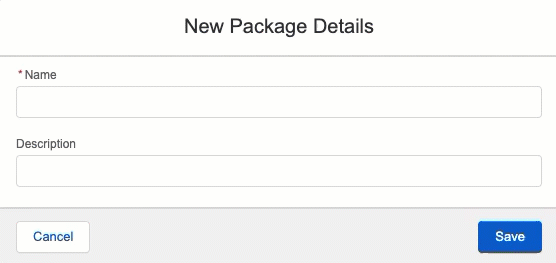
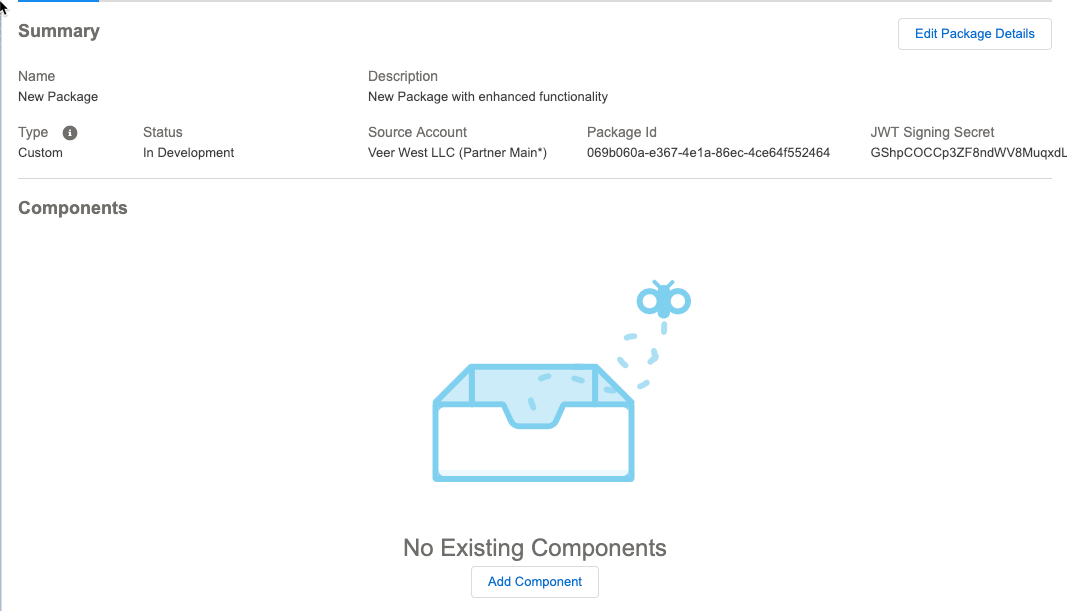
iii. Name and save your package.
4. Click "Add together Component" under the No Existing Components bulletin.
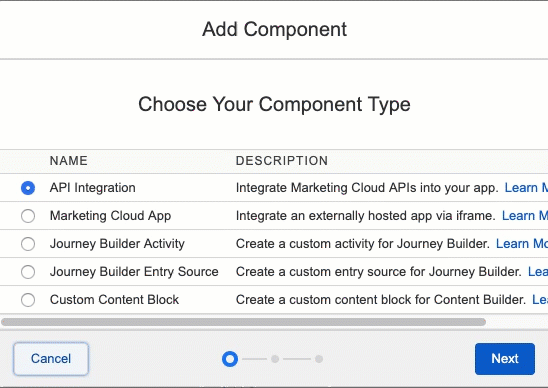
5. Choose API Integration for the Component Type and click Next, and so cull Server to Server for the Integration Type.
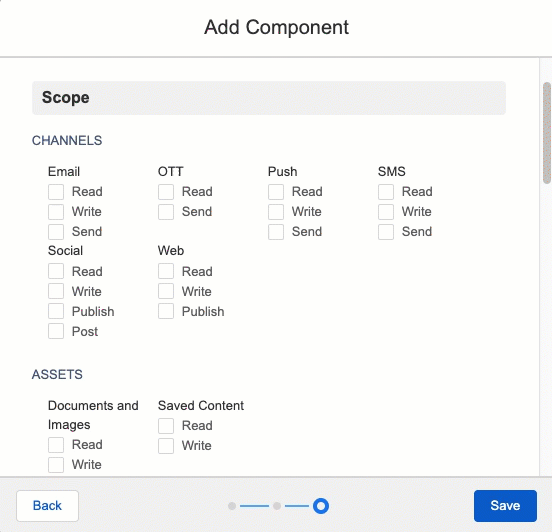
6. On the adjacent screen, you will need to requite Read and Write permission to "Fiftyists and Subscribers" and Audiences (located under Contacts), and Data Extensions and File Locations (located under Data). And so click Save.
You lot should at present be able to see your Client ID, Client Secret and Authentication Base URI under the API Integration section:
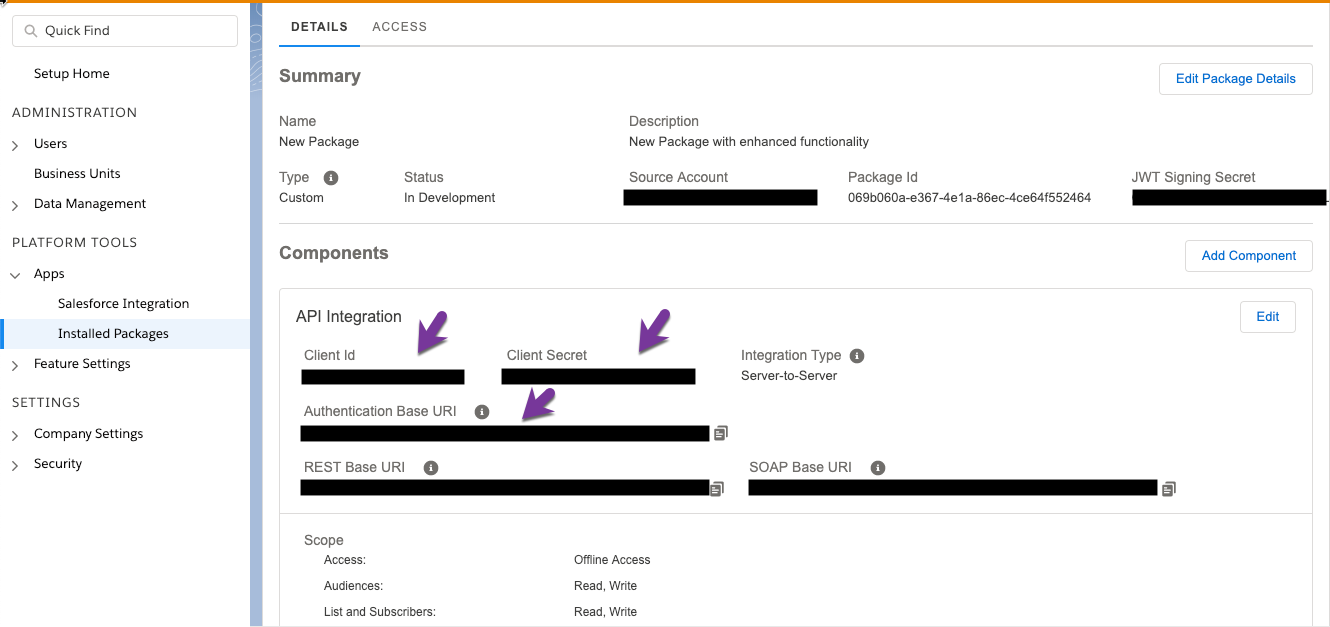
Copy and paste those three values into your Salesforce Marketing Cloud connector parameters in FormAssembly, click Check, make sure the connector is enabled, and y'all'll be ready to get!
Configuring the Connector
Now that you have made the connection between FormAssembly and ExactTarget, you're ready to begin configuring your connector.
Y'all can start past clicking on Add your outset object and choosing whether y'all'll be creating or updating a tape in ExactTarget. You can also select if y'all'll be working with a subscriber or a custom data extension.

Notation: If you are non seeing any options after you select create or update, effort saving and refreshing the page.
Subscribing and Unsubscribing from Lists
If you're working with a subscriber you can also choose which (if whatever) list y'all would like to subscribe them to or unsubscribe them from. Information technology is of import to note that lists are but available for subscribers, and not for data extensions.

You tin can choose to subscribe or unsubscribe your respondents to a unmarried or multiple lists, based on their pick in the form, or based on other criteria that you decide.
First, click on "Subscribe to..." or "Unsubscribe from..." depending on which y'all would like to prepare up. From at that place, select the list that you volition exist subscribing them to or unsubscribing them from, and make up one's mind what criteria should be used to trigger that upshot.
In the example below, the user would be subscribed to the "Veer W List" when "Weekly" is selected in a radio push field:
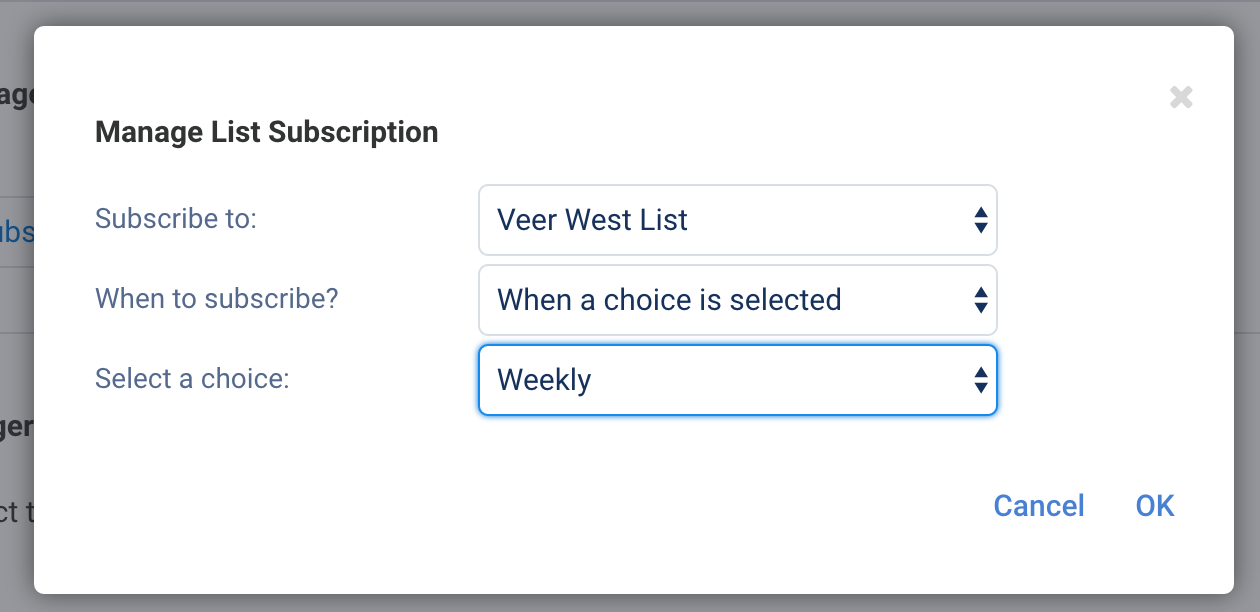
Y'all can cull to setup subscribers when a detail choice in your class is or is not selected, and you lot can also use our formula editor to set upwardly more than complex subscription rules likewise.
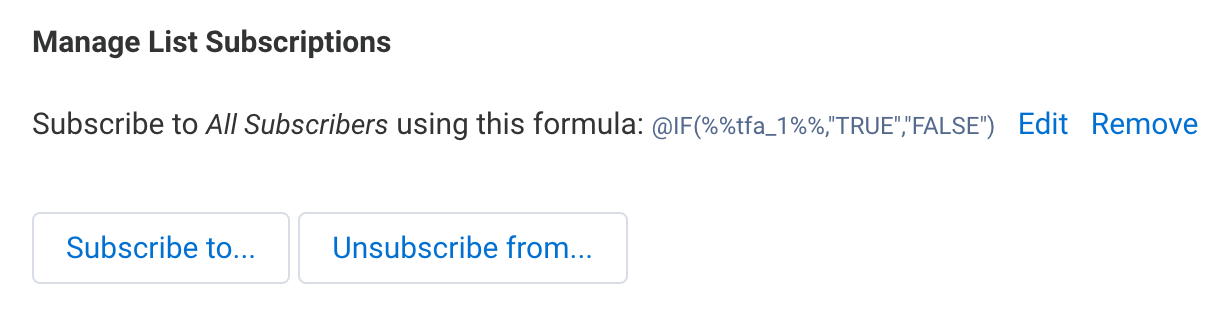
To setup multiple subscription or unsubscription rules, simple click the "Subscribe to..." or "Unsubscribe from..." push button over again, and you tin setup as many rules every bit yous would like.
Field Mapping
Finally, you'll need to map your fields from FormAssembly to ExactTarget and then that the connector knows what information to send and where to send it. Simply select the FormAssembly fields on the left and the ExactTarget fields on the correct. You tin can also insert text and formulas hither if you lot would like to.
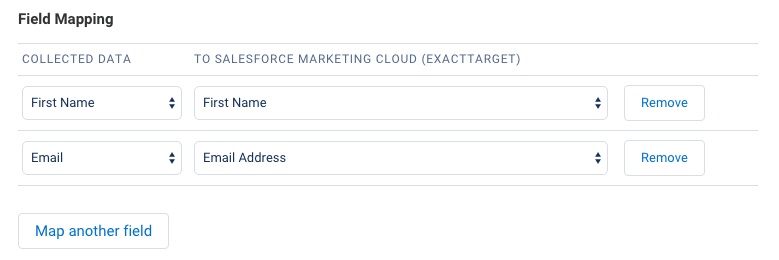
When you've finished mapping all your fields, click salvage and you're set to begin testing!
Updating a Record
If you lot want to update a subscriber or custom data extension, or add together a subscriber to a 2d list, you lot will choose Update instead of create.
Once you accept selected "Update" you volition see that yous demand to setup how the connector volition find your existing record nether the "Matching with" section. From here, you can choose what field(s) from ExactTarget will match with fields in your grade. It is recommended that you use a field that will be completely unique for each record, such as the email address.
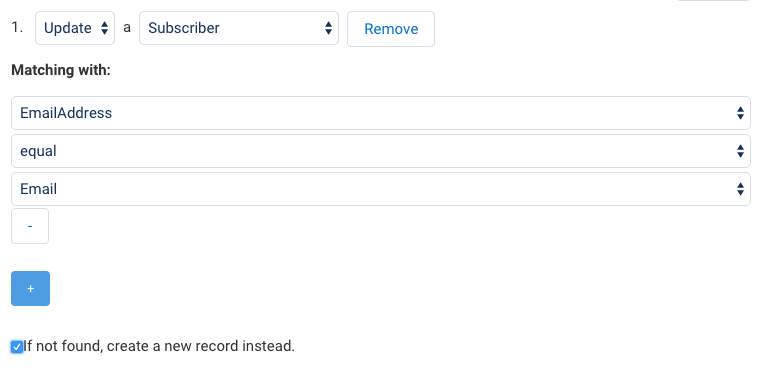
After y'all have completed setting up your look upwardly, you can also map whatsoever additional fields that y'all would like to.
This is also how you would add a subscriber to additional lists, by selecting which listing you lot would also similar them to be on. Adding a new list in an update will non modify any lists they are currently on, it will only add them to the new list.
Source: https://help.formassembly.com/help/484405-salesforce-marketing-cloud-exacttarget-connector
0 Response to "How to Upload Images in Exact Target"
Post a Comment